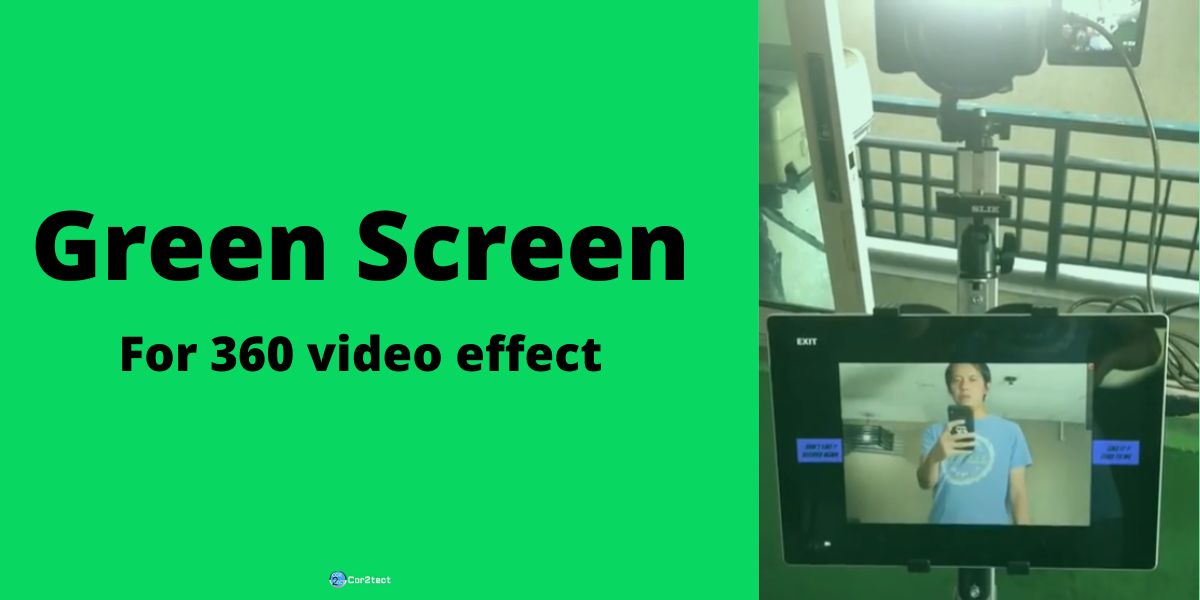
360 video booths are getting quite the response these days thanks to the booming photo booth industry. Small or large every photo booth company is incorporating 360 video booths in their list and I can not blame them. Due to low investment usability, it has become one of the major attractions for photo booth owners. There is multiple software in the market but only a few of them offer automation and green screen for 360 videos. Using the green screen effect you can add spice to your 360 video booth and it’s not that hard if you are using Cor2tect’s Automated 360 video effect. In this blog, I will show you how you can add a green screen effect for your 360 video effect but first let’s find out what green screen effect is all about.
What is Green Screen (Chromakey)
Theoretically, this term applies to the colorful background you want to make your shot clear and delete. Normally this is a solid colored backdrop, which can be any color, but is normally bright green because it is the farthest color from human skin tone. The common phrase falls in line with the green screen. It’s the real layering process or blending two pictures based on hues of color. Every color has a variety of chromiums, hence where the term comes from.
What can you do with Green Screen
Now you might ask yourself a question like why do I need a green screen for my 360 video booth? The answer is simple to eliminate the boring background. I have seen many photo booth owners go into a tailspin when selecting a background for the 360 video effect. Here are the top five benefits you will get if you use a green screen with your 360 video booth.
1. Creativity:
Creative thinking is key to a thriving photo booth business. You have to be unique from the booths around you. Comparisons are required to be made in a sector where every other photo booth looks much the same as the one already completed. Green Screen technology gives you creative options. You can add different effects and backdrops to your final output using a green screen effect.
2. Professional:
Green screen processing will help create a clean, polished look for your 360 videos. The option to set up a digital context can go a long way to making sure you are in a position to take advantage of your technical abilities to the hilt. The trick to producing the best outcomes in a global marketplace is to stand out from the rest and green screen technology offers the right edge for you.
3. Branding:
The continuous promotional potential is yet another benefit of green screen technology. You can add the branding components to the final output of your heart into your 360 video’s backgrounds. In reality, every aspect of your 360 video effect can infuse your branding to reach a better audience. To provide a constant advertisement, textures, colors, and many other elements may be added to create a final output that will blow the minds of your audiences.
4. Consistent output:
From the standpoint of accuracy, outdoor shoots seem to be much challenging. Preferably, while shooting the regular way, you would have no influence over the natural light and the surrounding. When you decide to go for the green screen solution you can completely block the natural light. The managed environment at the studio will help attain the highest degree of consistency.
5. Indoor events:
The indoor events have lots of downsides as well. As you are controlling the environment the costs tend to be higher. If you compromise with cost your output quality will take a hit which can be a nightmare for you. Green screen can be your lifesaver at this point and it will enable you to create that artificial condition for a perfectly mashed final 360 video output.
How to use green screen for 360 video booth software
Now I will guide you on how you can create a 360 video using a green screen effect. The process is quite simple and straightforward. You just need to follow few steps below:
1. The updated version for 360 video effect software: First you need to have the updated version of Cor2tect’s automated 360 video effect software. The updated version has the green screen effect by default. If you do not want to upgrade you can ask for the effect as a separate module.
2. Click on Chromakey: Once you have the updated software or added the green screen module you will find a button named ‘Chromakey’ at the bottom right side of your software screen. Click on the chromakey button.
3. Select Original File: After you click on the chromakey button, you will see a separate screen has opened up. Now you need to click on ‘Select Original File’. This file will be the main content that will stay in front of the background. One thing to keep in mind is that you need to select such an object which has no shadow in the background.
4. Select Background: Now it’s time to select the background of the original file. It can be a still image or video.
5. Adjust and preview: Now you need to adjust the background and pick the color of the original file using ‘Auto Eye Dropper’. It can be green or blue according to the background you used to take the original shoot. Adjust the original and background using two sliders on the bottom name Max and Min. Click on apply and preview to have a real-time view of the final output.
Color Grading For Green Screen
Another useful feature of Cor2tect’s automated 360 video effect software is color grading. When running a live event in outdoors the lighting setup and getting the perfect light for your outputs can be quite troublesome. The advanced color grading option from Cor2tect can be your lifesaver and the best part is it’s super easy to apply.
There are actually two methods of applying this the first one is by using an existing image. All you need to do is find an image that is perfect for lighting. You simply select the image from our software and the color grading of your video or image will be set automatically according to the images you just selected. This is super easy, fast, and perfect for live events.
The second method is for the people who are involved in post-production and does not get satisfied too easily. Thought manually editing the color grading can be quite a time-consuming task but there are people who would like to have the final touch themselves rather than automation. So for those people, you can select .cube extension and select the color according to your needs. Once you are happy with the color of grading of the cube file it will be added automatically on your video or images.
That’s it! Adding a green screen effect is much easier right now. You don’t need to be an animation expert to create a green screen effect. With the help of the right tool and bit of knowledge, you can easily create a green-screen effect for your 360 videos.