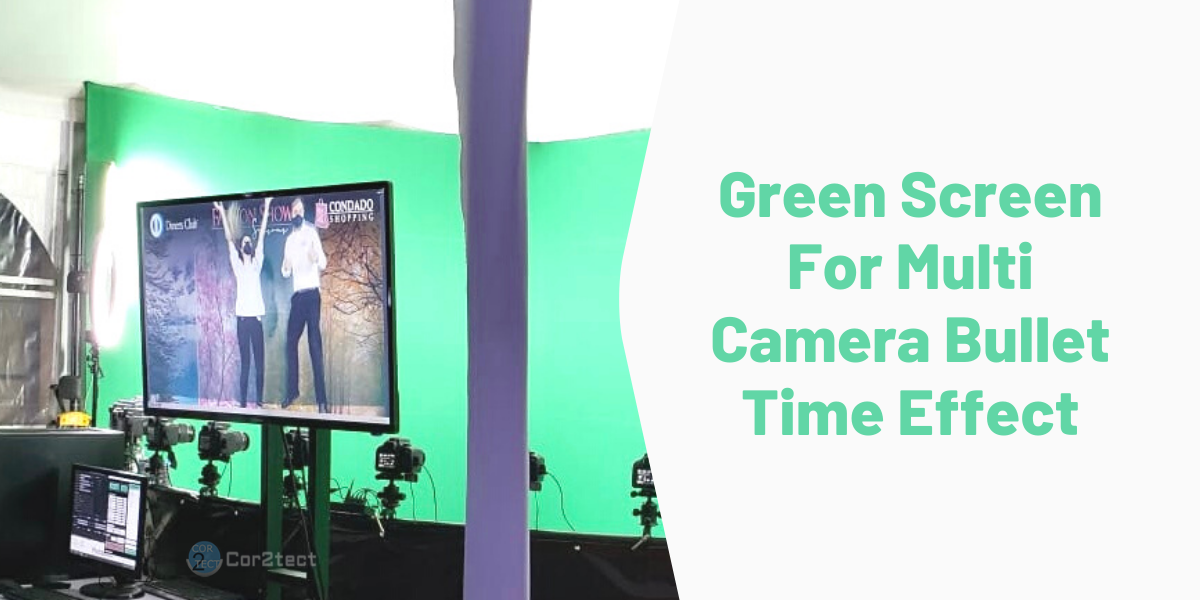
When the word green screen comes to our mind the first thought is about movies and weather forecast news. But nowadays green screen is being used in events as well and it’s transforming the event industry as we speak. Green screen for multi camera bullet time effect is getting very popular these days and it adds the wow effects to your events. In this article, we will discuss how you can use a green screen for your multi camera bullet time effect event.
 All You Need To Know About Green Screen Effect
This word applies functionally to the colored backdrop that you want to make translucent and eliminate from your shot. This is usually a single-colored background, which may be any color, but since it is the hue furthest removed from actual skin tones, it is usually bright green. In the early days, blue screens were mostly used for movies, which could still be used in some situations.
Chroma Key: With a green screen, this common phrase goes hand in hand. It’s the true layering process or composing two pictures based on color hues. There is a chroma spectrum in any hue, thus where the terminology comes from.
Keying: This word is used to explain the method of using video editing tools to erase the green screen backdrop in post-production. If the backdrop of the green screen has been keyed, it would be fully translucent. Then you can use a different picture or video to fill in the transparent region. The goal is to get the best looking key possible, ensuring that where the green screen was initially, there are no digital objects left on your image.
Spill: This also applies to the colored light that bounces from the green screen back onto your subject. The light will directly project the hue back onto your target when a green screen is brightly lit. To deter leaks, you need to have a perfect lighting setup. We have a separate blog on How to Setup Green Screen lighting. Make sure you read that article.
 What is Multi Camera Bullet Time Effect
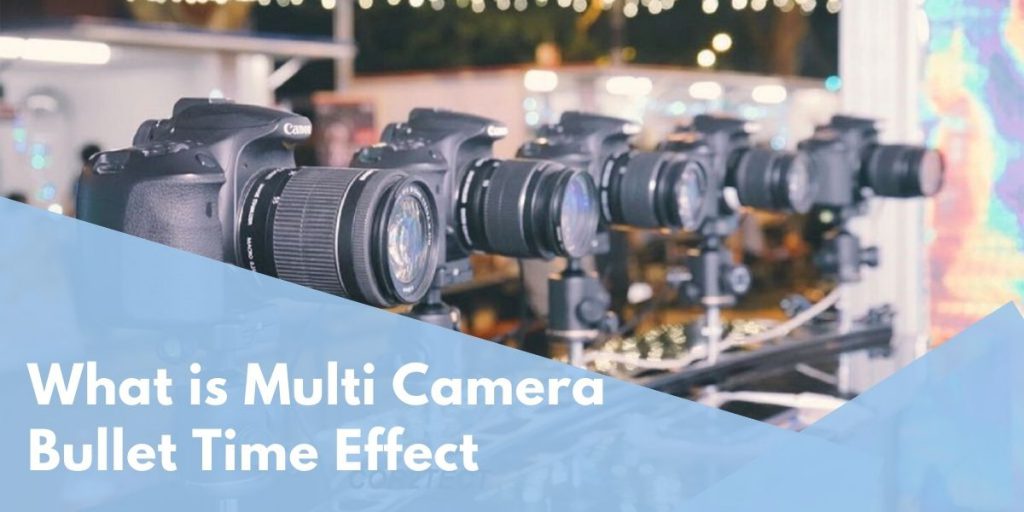
Multi Camera Bullet Time Effect is a type of event where multiple cameras are used for creating an effect which is known as the bullet time effect. The term bullet time effect originated from the Famous movie Matrix. The iconic movie was best known for a scene where the main actor Keanu reeves dodged bullets in a dramatic way and it was shown from a 180-degree angle. This was the modern application of the bullet time effect and after that its popularity went upwards.
Nowadays event organizers are using this effect to their advantage and creating some epic event ideas. Using 6 to 200+ cameras this effect has made its place into events, photo booths, experiential marketing activities, brand activations and so on. There are three types of bullet time effect & those are:
90-degree bullet time effect
This is the typical result of the bullet time effect that only involves a simple setup. This sort of effect, which can be accomplished with only 6 to 12 cameras, covers the 90-degree angle of the subject.
180-degree bullet time effect
The 180 bullet time effect, as the title suggests, uses a curved angle of 180 degrees, and this bullet time effect style is ideal for big live events and outdoor setups as less camera is required to create a rig for the 180 bullet time effect. Using 10 to 18 cameras, you can create a bullet time rig of 180-degree effect.
360-degree bullet time effect
360 bullet time effects are renowned as a full 3D view of the subject and context by giant photo booths and professional advertising agencies. The effect is accomplished from a 360-degree angle which creates an astonishing circular effect. This takes around 18 to 32 cameras with a circular rig to create a full 360-degree effect.
3D Timeslice Booth Software For Green Screen
Now back to the main thing which is green-screen effect. You need software for creating bullet time effects and it can not be created manually. When we are talking about the green screen you may need extra software for the keying process which sounds a bit messy as separate software might increase the cost and not to mention that it is also a time-consuming process.
But when you are using Cor2tect’s 3D Bullet Timeslice Booth you have the green screen effect built-in. I will explain the process later but first, look at few features of Cor2tect’s 3D Timeslice Booth software:
- Trigger without trigger box
- Control all the cameras from a single PC
- Fastest USB (Software) Triggering
- Light painting
- Dynamic Fastest Automatic Image Calibration
- Very User Friendly and Dynamic Live Preview for external monitor
- Support Bluetooth wireless remote control for unattended capturing
- MP4/GIF output options for various aspect ratios and output resolution (up-to 4K)
- Bit rate controlling for MP4 file size and video quality controlling
- Instant preview in less than 8 seconds
- Freezing time (stop time) function
- Slow time (interval triggering) function
- Intro/Outro videos, PNG/GIF Overlay branding, Audiovisual effect
- Easy camera numbering (simply by turning on the cameras in the right order first time)
- Save previous ordering of cameras and all the settings for the fail-safe situation
- Windows Diphideo Sharing station for email sharing, printing (max up to 3 cameras, the overlay can be added too), and status.
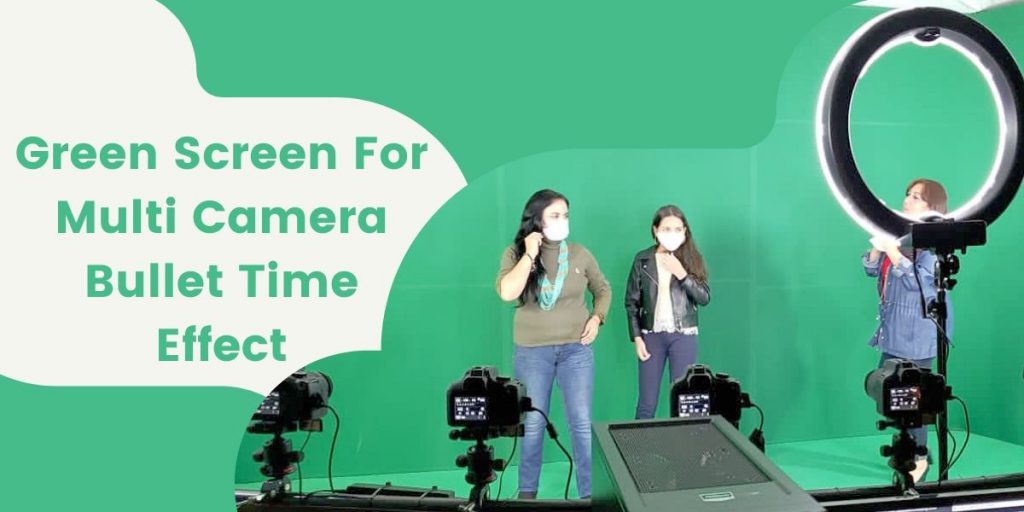 Use Green Screen For Multi Camera Bullet Time Effect
As you already know by now you do not need any extra green screen software if you are using Cor2tect’s 3D Bullet Timeslice Booth. This section will give you a complete guide on how you can use a green screen for multi camera bullet time effect.
The updated version for 3D Bullet Timeslice Booth software:
First, you need to have the updated version of Cor2tect’s 3D Bullet Timeslice Booth software. The updated version has the green screen effect by default. If you do not want to upgrade you can ask for the effect as a separate module.
Click on Chromakey:
Once you have the updated software or added the green screen module you will find a button named ‘Chromakey’ at the bottom right side of your software screen. Click on the chromakey button.
Select Original File:
After you click on the chromakey button, you will see a separate screen has opened up. Now you need to click on ‘Select Original File’. This file will be the main content that will stay in front of the background. One thing to keep in mind is that you need to select such an object which has no shadow in the background.
Select Background:
Now it’s time to select the background of the original file. It can be a still image or video.
Adjust and preview:
Now you need to adjust the background and pick the color of the original file using ‘Auto Eye Dropper’. It can be green or blue according to the background you used to take the original shoot. Adjust the original and background using two sliders on the bottom name Max and Min. Click on apply and preview to have a real-time view of the final output.
Green screen effect for bullet-time effect is not an absolute must but if you want to add the wow effect to your events you can give it a try. Contact Us Now to learn more about the use of Green Screen for Bullet Time Effect Software.